
Bands for Garmin Watches


watchband.direct is independent and is not affiliated with, endorsed by, or sponsored by Apple, Samsung, Garmin, Fitbit, Fossil, Hermès, Chanel, Dior, Tiffany & Co., Tory Burch, Van Cleef & Arpels, Disney, Brighton, or any other watch or fashion brand referenced on this site. All trademarks are the property of their respective owners.

Meet Thomas: The Heart of watchband.direct
Thomas's journey began amidst the world's watchmaking capitals, from Milan to Kyoto. Each watchband, to him, was more than an accessory—it was a narrative of culture, art, and identity. Inspired by global craftsmanship and the tales behind each band, Thomas birthed watchband.direct. It's not just a business, but a culmination of his passion for timeless elegance and dedication to quality. With Thomas at the helm, we promise bands that are not just products, but stories waiting to grace your wrist.
Where Style Meets Affordability
Unlock the doors to a world where high fashion meets budget-friendly choices. We understand the importance of looking your best without compromising on quality or price. Our curated collection at watchband.direct offers a seamless blend of aesthetic elegance and cost-effectiveness. Elevate your wrist game, and let your watchband make a statement that's both stylish and smart.

Tailored For Your Convenience
✈️ Worldwide Style Delivered: No matter where you are, we bring style to your doorstep. Enjoy complimentary international shipping on orders from $49 and above.
🎁 Smart Shopping, Bigger Savings: Curate your collection and cash in on the savings. Bundle your favorite watch bands and enjoy discounts of up to 25%.
🔙 Confidence in Every Purchase: With 30 days to make up your mind, our hassle-free return policy means shopping is a risk-free adventure.
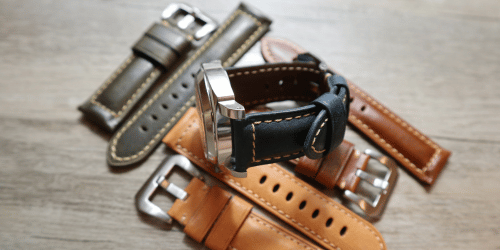
Shop replacement bands and straps for Garmin Watches. Choose comfortable silicone, nylon, leather and stainless steel options by model, connector style and size. watchband.direct is independent and is not affiliated with, endorsed by, or sponsored by Garmin. All trademarks are the property of their respective owners.